Threading a sewing machine, though sometimes daunting, is a core skill for all sewists; proper technique ensures smooth operation and prevents frustrating thread issues.
Understanding the thread path, including the thread guide, is vital for consistent stitch formation and avoiding common sewing machine problems.
Retreading, checking loops, and ensuring correct insertion are key to resolving tension and looping issues, as highlighted by experienced sewists like Bernina Jeff.
The Importance of Correct Threading
Correct threading is absolutely fundamental to successful sewing, extending far beyond simply getting the machine to run. A properly threaded machine ensures balanced thread tension, preventing frustrating issues like looping, nesting, or breakage. The thread’s journey, guided by the machine’s components, directly impacts stitch quality and fabric integrity.
Ignoring the correct thread path, particularly the thread guide, can lead to inconsistent stitches, skipped stitches, and even damage to the machine itself. As noted in various troubleshooting guides, re-threading is often the first step in resolving common problems. Ensuring the thread is correctly seated in each guide, and hasn’t slipped, is crucial.
Furthermore, proper threading optimizes the machine’s performance, reducing strain on moving parts and extending its lifespan. A well-threaded machine operates smoothly, allowing for precise control and professional-looking results. It’s a small step with a significant impact on the overall sewing experience.
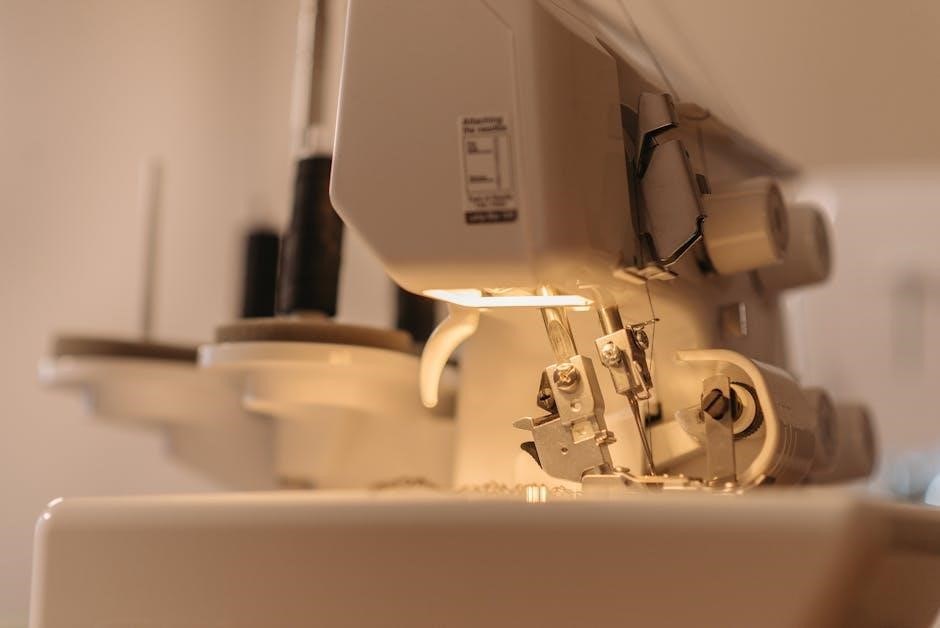
Basic Sewing Machine Components Involved in Threading
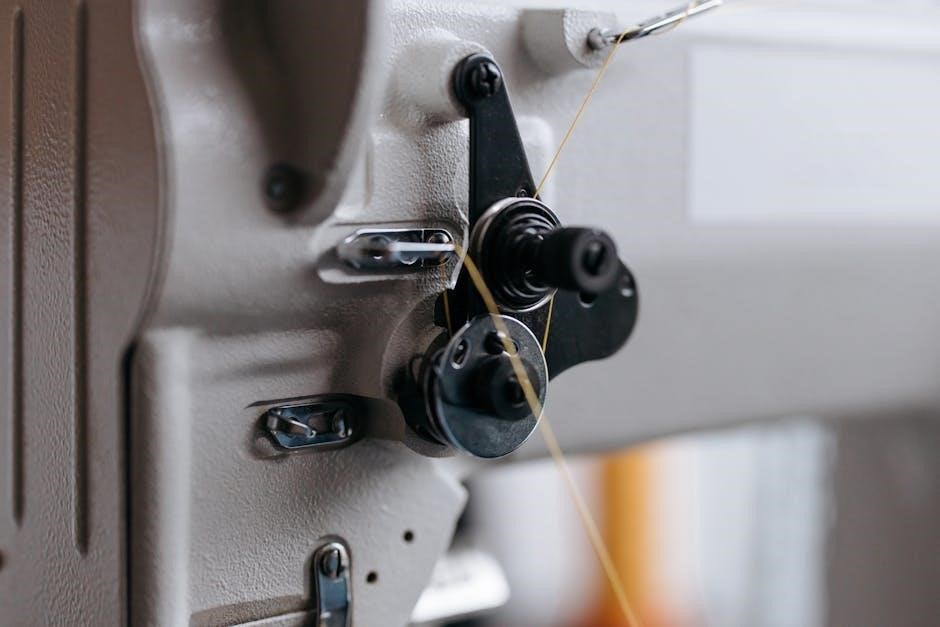
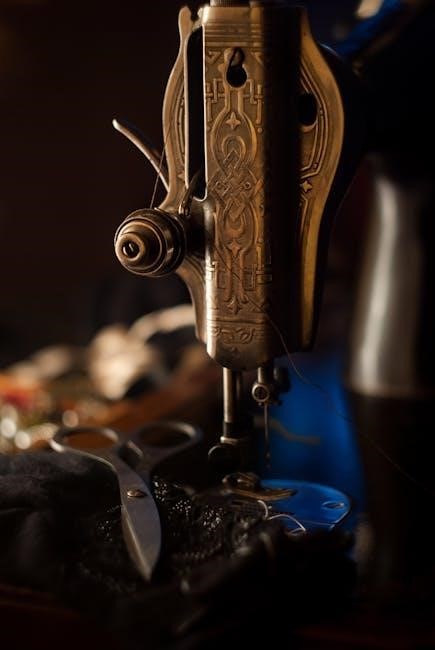
Several key components work in concert during the threading process. The spool pin holds the thread supply, while thread guides – often small metal loops or discs – direct the thread along the correct path. The tension discs control thread tightness, crucial for balanced stitches. The take-up lever pulls thread from the spool, creating the stitch, and the needle itself carries the thread through the fabric.
The thread guide plays a vital role, ensuring smooth thread flow and preventing tangles. These guides are strategically positioned to maintain consistent tension and alignment. Incorrect thread placement on a guide can cause looping or breakage. Understanding each component’s function, and how the thread interacts with them, is essential for successful threading.
Finally, the needle clamp secures the needle, and the bobbin case holds the bobbin thread, completing the stitch formation. Each element must function correctly for optimal sewing performance.
Understanding Thread Types and Their Compatibility
Thread type impacts performance; selecting the correct thread, and ensuring proper guidance through the machine, is vital for achieving quality stitches and avoiding issues.
Different Types of Sewing Thread (Polyester, Cotton, Nylon)
Thread guides play a crucial role regardless of the thread type used – polyester, cotton, or nylon. Each material possesses unique characteristics impacting its behavior during sewing.
Polyester, known for its strength and elasticity, requires smooth guidance to prevent friction and breakage. Cotton, while natural and breathable, can be more prone to lint buildup, necessitating clean thread paths.
Nylon, offering exceptional durability, demands precise thread control to avoid skipped stitches. The thread guide ensures consistent tension and proper alignment, regardless of the chosen material.
Properly navigating the thread through the machine’s guides minimizes snags and ensures optimal performance, preventing common sewing machine problems like looping or nesting.
Consistent thread delivery, facilitated by the thread guide, is essential for achieving professional-looking results with any thread type.
Matching Thread Weight to Fabric Weight
The thread guide’s effectiveness is amplified when paired with correctly matched thread weight to fabric weight. Lighter fabrics demand finer thread, requiring precise guidance to prevent puckering or damage.
Heavier fabrics necessitate stronger thread, and the thread guide must accommodate increased tension without causing breakage. Consistent thread delivery through the guide is paramount for balanced stitches.
Incorrect matching can lead to thread breaking, tension issues, and ultimately, frustrating sewing machine problems. The thread guide ensures even distribution of tension, mitigating these risks.
A well-maintained thread guide, combined with appropriate thread weight, contributes to a smoother sewing experience and a more professional finish. It’s a fundamental aspect of successful sewing.
Always refer to your machine’s manual for guidance on optimal thread and fabric combinations, maximizing the thread guide’s potential.
Top Threading: A Step-by-Step Guide
Thread the machine following the manual, ensuring the thread smoothly navigates each thread guide point; proper guidance prevents tension issues and looping.
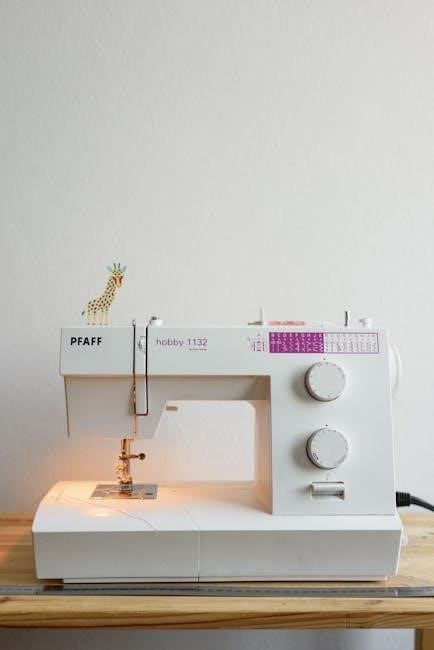
Preparing the Machine for Threading
Before beginning, raise the presser foot – this action opens the tension discs, allowing the thread to seat correctly and preventing immediate tension problems during threading.
Ensure the machine is turned off for safety, and the handwheel is positioned so the thread take-up lever is at its highest point; this simplifies guiding the thread through the subsequent steps.
Visually inspect the entire thread path, noting each thread guide and ensuring it’s clear of lint or debris; a clean path minimizes friction and potential snags.
Confirm the bobbin is correctly inserted and wound, as an improperly wound bobbin can contribute to tension imbalances later on. Refer to your machine’s manual for specific instructions.
Finally, have your thread spool readily accessible and positioned for easy pulling, streamlining the threading process and reducing frustration.
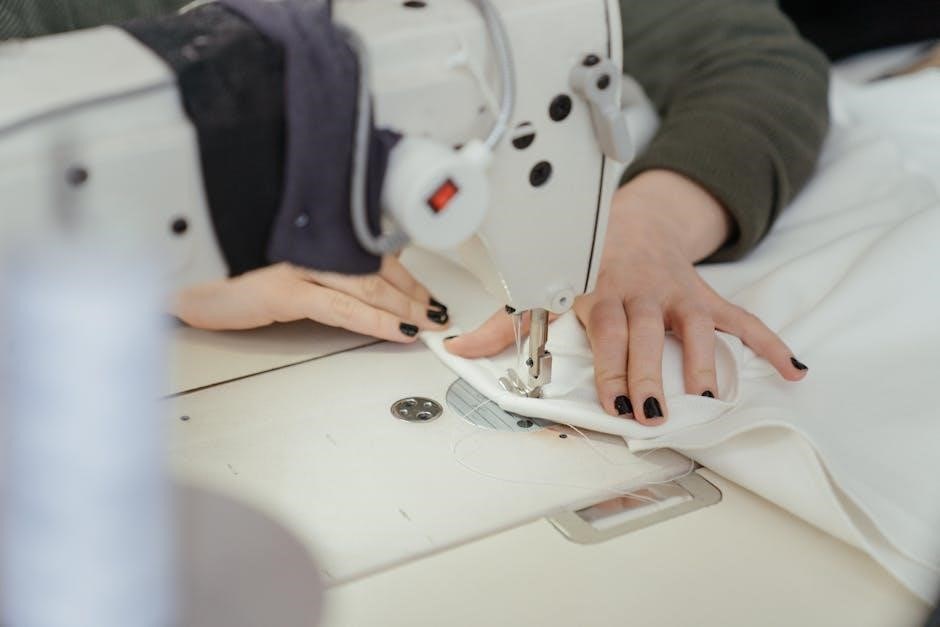
Following the Thread Path – Detailed Instructions
Begin by guiding the thread from the spool, through the first thread guide, and then around the tension discs – ensuring it snaps firmly into the groove is crucial for proper tension.
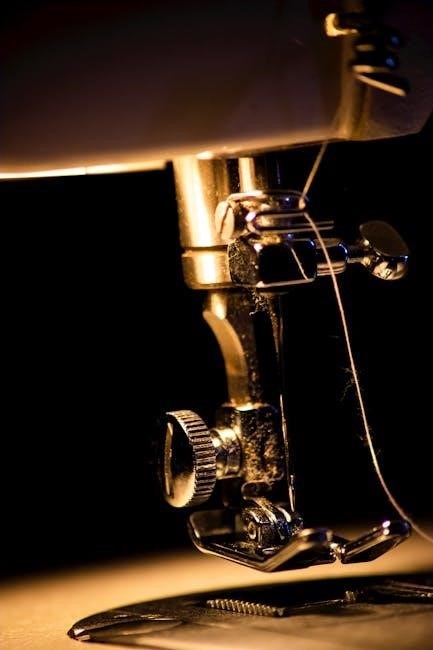
Next, lead the thread up and through the take-up lever, a moving component that controls thread flow; confirm the thread is securely seated in the lever’s opening.
Continue following the designated path, navigating around any additional thread guides, and then down towards the needle area, paying close attention to the machine’s manual.
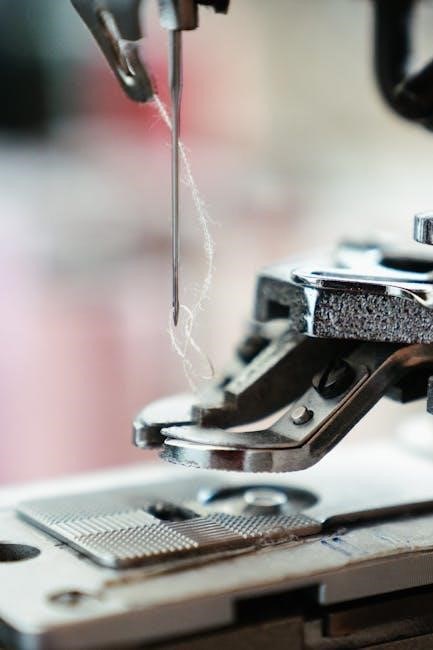
Finally, thread the needle from front to back (or as specified by your machine), using needle threaders if needed; a correctly threaded needle is essential for stitch formation.
Double-check each step, ensuring the thread is properly seated in all guides, to prevent looping, nesting, or breaking during sewing.
Bobbin Winding and Insertion
Proper bobbin winding and insertion are vital for balanced thread tension; ensure the thread guides are correctly utilized during the winding process for even distribution.
Winding the Bobbin Correctly
Successful bobbin winding relies heavily on guiding the thread correctly through the machine’s designated path. Begin by placing the thread spool on the spool pin, utilizing the thread guide to lead it towards the bobbin winder tension disc. This disc regulates thread flow, ensuring even winding.
Next, carefully thread the thread through the bobbin winder’s thread guide and onto the bobbin itself, leaving a tail of a few inches. Engage the bobbin winder mechanism, typically by pushing it to the side, and gently press the foot pedal to start winding.
Consistent speed is key; avoid sudden starts and stops. Monitor the winding process, ensuring the thread lays evenly across the bobbin. If the thread bunches or becomes uneven, stop, re-thread, and restart. A properly wound bobbin is crucial for preventing tension issues during sewing.
Inserting the Bobbin into the Bobbin Case
Correct bobbin insertion is paramount for achieving balanced thread tension. Begin by locating the bobbin case, typically accessed from beneath the needle plate. Carefully insert the wound bobbin into the bobbin case, ensuring the thread unwinds in the correct direction – usually clockwise or counterclockwise, depending on your machine model.
Guide the thread through the tension spring of the bobbin case; this spring controls the bobbin thread’s tension. Then, lead the thread through the designated thread guide or slot on the bobbin case.
Finally, reinsert the bobbin case into its housing, ensuring it clicks securely into place. Gently pull on the thread tail to confirm it’s properly engaged. Improper insertion can lead to looping, nesting, or thread breakage.
Common Threading Problems and Solutions
Frequent issues like looping or nesting often stem from incorrect threading, especially around the thread guide. Retracing the thread path and ensuring proper engagement resolves many problems.
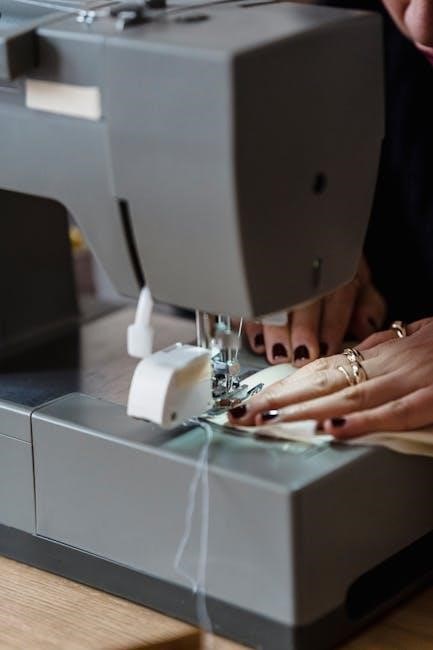
Thread Breaking During Sewing
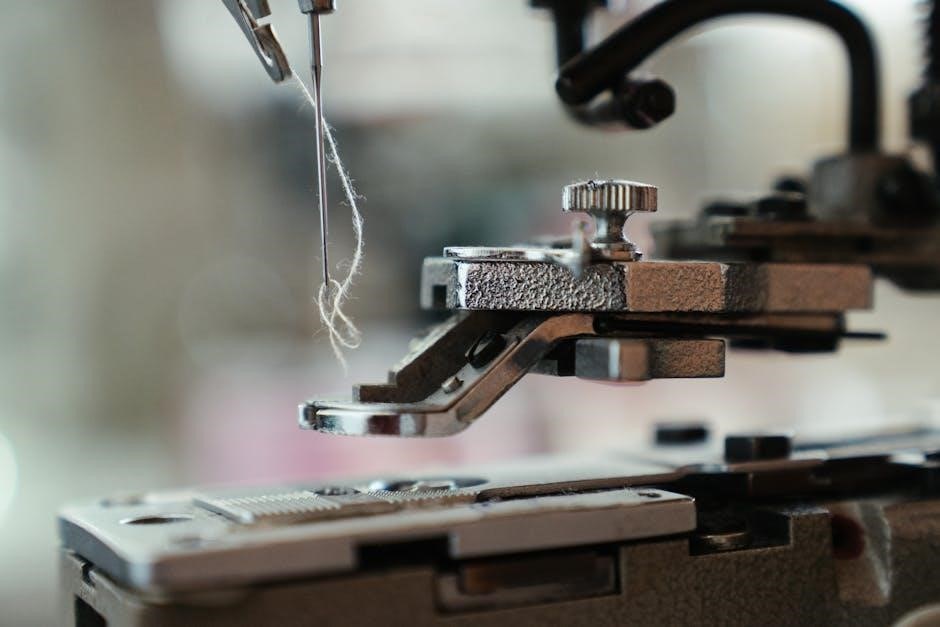
Thread breakage during sewing is a common frustration, and often, the culprit lies within the threading process, specifically concerning the thread guide. A key point is that the thread makes contact with hard surfaces – plastic or metal – along its path, creating friction.
If the thread isn’t properly seated in the thread guide, or if lint has accumulated there, it can cause excessive abrasion, leading to snaps. Regularly check the thread guide for obstructions and ensure the thread is smoothly flowing through it.
Retreading the machine, paying close attention to each point where the thread interacts with the guide, is a quick DIY fix. Double-checking that the thread hasn’t jumped out of the guide’s path is also crucial, as highlighted by troubleshooting resources for beginners and seasoned sewists alike.
Thread Bunching or Nesting Under the Fabric
Thread bunching or nesting underneath the fabric is frequently linked to improper threading, and the thread guide plays a critical role. If the upper thread isn’t correctly guided, it can cause imbalances in tension, leading to loops and nests forming on the fabric’s underside.
Ensure the thread is fully seated in each component of the thread guide, including any tension discs. A common fix, recommended for both beginners and experienced sewists, is to re-thread the entire machine, meticulously following the manual’s instructions.
Incorrectly threaded machines often exhibit this issue, as the thread isn’t pulled consistently, disrupting the delicate balance needed for proper stitch formation. Checking the thread path and ensuring smooth flow through the guide is a vital troubleshooting step.
Troubleshooting Thread Tension Issues
Thread tension problems often stem from incorrect threading, particularly around the thread guide; re-threading ensures proper thread flow and balanced tension for optimal stitches.
Identifying Upper vs. Lower Thread Tension Problems
Distinguishing between upper and lower thread tension issues is crucial for effective troubleshooting. If loops form on the underside of the fabric, the lower thread (bobbin) is likely too loose, or the upper thread is too tight.
Conversely, loops appearing on the top of the fabric suggest the upper thread is too loose, or the lower thread is too tight. A properly threaded machine, with the thread correctly guided through all components, is the first step in resolving these imbalances.
Pay close attention to the thread path, ensuring the thread engages correctly with the thread guide and tension discs. Incorrect threading around the thread guide can disrupt tension, leading to looping or puckering. Regularly check and re-thread as needed, referencing your machine’s manual for guidance.
Adjusting Thread Tension for Different Fabrics
Fabric weight significantly impacts optimal thread tension. Lightweight fabrics generally require lower thread tension to prevent puckering, while heavier fabrics need higher tension for secure stitches. The thread guide plays a role, ensuring consistent thread delivery regardless of tension settings.
Always test tension on a scrap of the fabric you’re using. A balanced tension creates even stitches with no loops or puckering. If the thread nests or bunches, adjust the tension dial incrementally, observing the stitch quality after each adjustment.
Ensure the thread is properly seated in the thread guide and tension discs; this ensures consistent pressure. Remember, a well-maintained thread path, including the thread guide, is essential for accurate tension control and beautiful results.
Maintaining Your Sewing Machine for Smooth Threading
Regular cleaning prevents lint buildup around the thread guide, ensuring smooth thread flow. A clean machine minimizes tension issues and threading frustrations.
Regular Cleaning to Prevent Lint Buildup
Lint accumulation significantly impacts thread flow, particularly around the thread guide and tension discs. This buildup is a primary cause of threading problems and inconsistent stitch quality. Regularly removing lint—using a small brush, canned air, or a lint roller—is crucial for maintaining optimal performance.
Pay close attention to areas where the thread makes contact with metal or plastic components, as these are prime locations for lint to gather. A clogged thread guide can lead to skipped stitches, thread breakage, and frustrating thread nesting under the fabric. Consistent cleaning, even after each project, prevents these issues.
Neglecting this maintenance step can exacerbate tension problems and ultimately require more extensive machine servicing. Remember, a clean machine is a happy machine, and smooth threading is a direct result of diligent upkeep!
Lubricating Moving Parts
Lubrication is essential for the smooth operation of your sewing machine, especially concerning the thread guide and related mechanisms; While not all machines require frequent oiling, periodic lubrication reduces friction where the thread interacts with moving parts, preventing wear and tear.
Focus on areas identified in your machine’s manual, typically including the bobbin winder, hook assembly, and points where the thread guide directs the thread. Use sewing machine oil specifically – avoid general-purpose oils, as they can gum up the works. Proper lubrication ensures the thread flows freely, minimizing tension issues and preventing breakage.
Consistent, careful oiling contributes to a longer machine lifespan and reduces the likelihood of frustrating thread-related problems. Remember to wipe away any excess oil to prevent staining fabric.
Advanced Threading Techniques
Thread guides play a crucial role in complex stitching; mastering their use unlocks decorative stitch potential and allows for creative multi-thread effects.
Threading for Decorative Stitches
Decorative stitches often require unique threading paths, deviating from standard straight stitching. The thread guide becomes paramount, demanding meticulous attention to detail. Multiple thread guides may be utilized, each directing a separate spool of thread for layered effects.
Successfully navigating these paths ensures balanced tension and prevents thread breakage or nesting. Referencing your machine’s manual is crucial, as each model’s thread guide configuration differs. Incorrect threading can lead to skipped stitches or distorted designs.
Pay close attention to any additional thread take-up levers or tension discs specifically for decorative stitching. Ensuring the thread is properly seated in each guide prevents inconsistencies and maximizes the beauty of your finished project. Experimentation with different thread weights and colors further enhances the visual impact.
Using Multiple Threads for Special Effects
Employing multiple threads unlocks a world of creative possibilities, but demands precise thread guidance. Each thread must follow its designated path through the machine, utilizing all available thread guides to maintain separation and even tension.
The thread guide system becomes more complex, requiring careful observation to prevent tangling or interference. Consider using contrasting colors or varying thread weights for dramatic effects. Ensure each spool feeds smoothly, avoiding snags that could disrupt the stitching process.
Proper tension adjustment is critical when working with multiple threads; slight imbalances can lead to looping or uneven designs. Regularly check the thread paths to confirm correct placement and prevent frustrating issues during your project.